Tips to Topstitch Like a Pro | June 2018
Hello Brother fans! I am Jen, sewing blogger and vlogger behind The Gingerthread Girl. I am SEW excited to be jumping on the Brother Sewing blog to share just a few of my top tips and tools for nailing that oh-so-perfect topstitching.
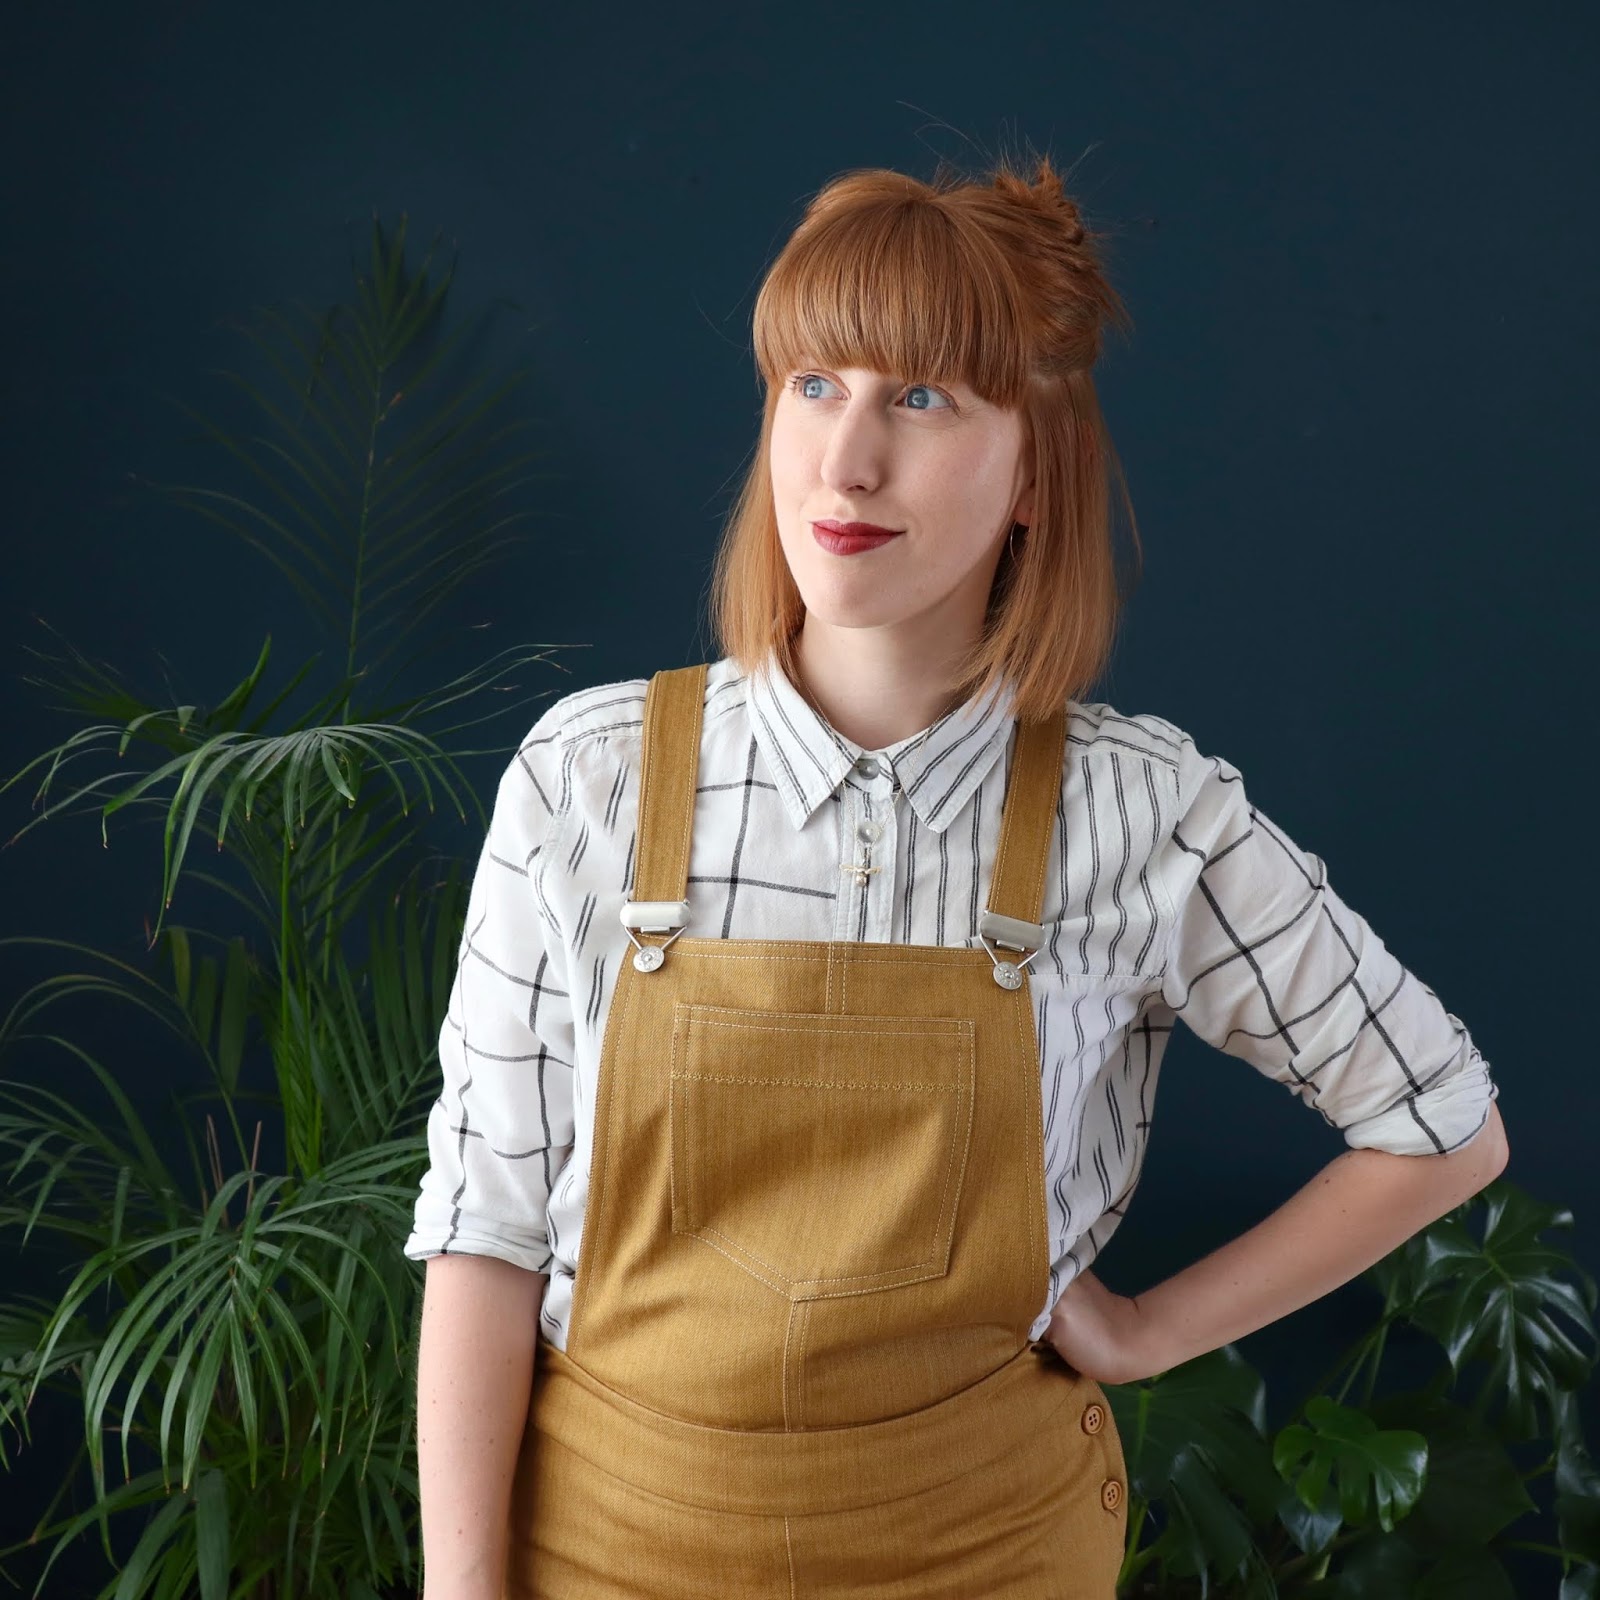
It seems the dressmaking world has gone crazy for all things jeans and dungaree related. Guilty. As. Charged. In turn, this has had many a sewist pouring over their handmade garments to achieve a perfect, professional finish to their topstitching. My most recent make has been a pair of Tilly and the Buttons ‘Mila’ Dungarees. I used a beautiful mustard coloured denim, which was an absolute dream to work with. And so, these are my pointers in trying to up your topstitching game:
1. Relax and enjoy
Strange as this sounds for a ‘top tips’ guide, my first tip really would be to chill. Don’t torture yourself, white-knuckling your fabric to achieve perfection! The most important thing is that you enjoy this hobby that you have so much love for. Don’t lose the joy of the craft people! Positive vibes only and all that.
2. Examine your RTW garments
If you like to do a bit of research before embarking on your topstitching project, why not whip out a pair of ‘ready to wear’ jeans that you probably already own and examine the topstitching. You will be able to get a sense of where topstitching works well, measurements from seam lines, and width of stitching (especially where flat felled seams have been used). Never hurts to do a bit of homework – you could even do it while waiting for the bus! Just look down.

3. Press to impress
I know, this is a really basic top tip – but really, a good press of your seam before topstitching will lay the foundations for getting a super neat pro-finish.
4. Plan your measurements and stick to them
Work out how far from seam lines you want to stitch, make a note, and stick to the plan. If you are flat felled seaming, or wanting to create 2 lines of topstitching to run parallel to each other, work out the width of the gap. Write this down too, and keep to the plan. Consistency will give you a super neat finish.
5. Use a fabric marker pen and ruler
Pre-mark your garment with a dissolvable fabric pen and ruler. You can follow your guidelines, and like magic, remove the pen afterwards! Especially pre-mark pivot points if you are going to have to sew corners and angles in your topstitching – like, for example, topstitching a jeans pocket in place.

6. Select your machine feet
There are some really useful sewing machine feet you can use to help guide your sewing. I still think that all the different sewing machine feet you can use are some of the most useful tools in my sewing kit! The two main feet I fall back on when topstitching are a sewing guide foot and a ‘stitch the ditch’ foot. The sewing guide really helps you to visually follow one of the measurement notches to keep your sewing on track. And the ‘stitch the ditch’ foot, I use with so that the stitch guide runs down the seam line (the ditch), and I can adjust my stitch width so that the needle sews alongside. This is a really neat foot to really keep you following straight down a seam.

7. Use the correct needle for your fabric
Again, another basic tip, but one that lots of people bypass. You need your needle to be sharp enough, and appropriate for your fabric weight to perfect neat stitchwork.
8. Selecting your thread and test your tension
Now I know topstitching thread isn’t for everyone, and it does get a bit of rap! If you haven’t come across topstitching thread before, it is essentially a thicker thread which stands out a little bit more. A lot of sewing machines get a little disgruntled with a thicker thread, which can leave you tearing your hair out. An alternative to this is to try the saddle stitch which you probably have on your sewing machine, using a regular weight thread.

9. Try a slightly longer stitch length and consider two lines of topstitching
A longer stitch length can sometimes look better for topstitching, and can make it stand out a little bit more. Have a play around on a test scrap of fabric first though, and see what you prefer. I would also recommend having a try with sewing two lines of parallel topstitching. It will give a really professional finish, which is found on so many ready to wear garments.
10. Why not have a play with a decorative topstitch?
And finally for a bit of fun! You remember all of those funky decorative stitches your machine is capable of but you *never* use? Well why not take the opportunity to have a play with some of these? They can give your garments a lovely finishing touch, which is tactile as well as beautiful.

I hope these pointers help inspire your coming makes!
Jen Walker
Twitter - @gingerthreadgrl
Instagram - @gingerthreadgrl
Facebook - @gingerthreadgrl
It seems the dressmaking world has gone crazy for all things jeans and dungaree related. Guilty. As. Charged. In turn, this has had many a sewist pouring over their handmade garments to achieve a perfect, professional finish to their topstitching. My most recent make has been a pair of Tilly and the Buttons ‘Mila’ Dungarees. I used a beautiful mustard coloured denim, which was an absolute dream to work with. And so, these are my pointers in trying to up your topstitching game:
1. Relax and enjoy
Strange as this sounds for a ‘top tips’ guide, my first tip really would be to chill. Don’t torture yourself, white-knuckling your fabric to achieve perfection! The most important thing is that you enjoy this hobby that you have so much love for. Don’t lose the joy of the craft people! Positive vibes only and all that.
2. Examine your RTW garments
If you like to do a bit of research before embarking on your topstitching project, why not whip out a pair of ‘ready to wear’ jeans that you probably already own and examine the topstitching. You will be able to get a sense of where topstitching works well, measurements from seam lines, and width of stitching (especially where flat felled seams have been used). Never hurts to do a bit of homework – you could even do it while waiting for the bus! Just look down.
3. Press to impress
I know, this is a really basic top tip – but really, a good press of your seam before topstitching will lay the foundations for getting a super neat pro-finish.
4. Plan your measurements and stick to them
Work out how far from seam lines you want to stitch, make a note, and stick to the plan. If you are flat felled seaming, or wanting to create 2 lines of topstitching to run parallel to each other, work out the width of the gap. Write this down too, and keep to the plan. Consistency will give you a super neat finish.
5. Use a fabric marker pen and ruler
Pre-mark your garment with a dissolvable fabric pen and ruler. You can follow your guidelines, and like magic, remove the pen afterwards! Especially pre-mark pivot points if you are going to have to sew corners and angles in your topstitching – like, for example, topstitching a jeans pocket in place.
6. Select your machine feet
There are some really useful sewing machine feet you can use to help guide your sewing. I still think that all the different sewing machine feet you can use are some of the most useful tools in my sewing kit! The two main feet I fall back on when topstitching are a sewing guide foot and a ‘stitch the ditch’ foot. The sewing guide really helps you to visually follow one of the measurement notches to keep your sewing on track. And the ‘stitch the ditch’ foot, I use with so that the stitch guide runs down the seam line (the ditch), and I can adjust my stitch width so that the needle sews alongside. This is a really neat foot to really keep you following straight down a seam.
7. Use the correct needle for your fabric
Again, another basic tip, but one that lots of people bypass. You need your needle to be sharp enough, and appropriate for your fabric weight to perfect neat stitchwork.
8. Selecting your thread and test your tension
Now I know topstitching thread isn’t for everyone, and it does get a bit of rap! If you haven’t come across topstitching thread before, it is essentially a thicker thread which stands out a little bit more. A lot of sewing machines get a little disgruntled with a thicker thread, which can leave you tearing your hair out. An alternative to this is to try the saddle stitch which you probably have on your sewing machine, using a regular weight thread.
9. Try a slightly longer stitch length and consider two lines of topstitching
A longer stitch length can sometimes look better for topstitching, and can make it stand out a little bit more. Have a play around on a test scrap of fabric first though, and see what you prefer. I would also recommend having a try with sewing two lines of parallel topstitching. It will give a really professional finish, which is found on so many ready to wear garments.
10. Why not have a play with a decorative topstitch?
And finally for a bit of fun! You remember all of those funky decorative stitches your machine is capable of but you *never* use? Well why not take the opportunity to have a play with some of these? They can give your garments a lovely finishing touch, which is tactile as well as beautiful.
I hope these pointers help inspire your coming makes!
Jen Walker
Twitter - @gingerthreadgrl
Instagram - @gingerthreadgrl
Facebook - @gingerthreadgrl
Thanks very much for sharing tips. I hope my projects will be just as good as yours. I like your blog very much and I will certainly read your posts more often. Your posts are very inspiring!
ReplyDelete